Bracing LegsThe first piece of the project that I completed this week was bracing the legs of the frame. This was necessary because it gives the blind extra support. Any extra support is very helpful because I am going to be sitting in the blind, so I would like for it to not collapse or fall down. To do this I attached four 2 by 4’s onto the legs of the blind with a nail gun. This step went on without any challenges at all. 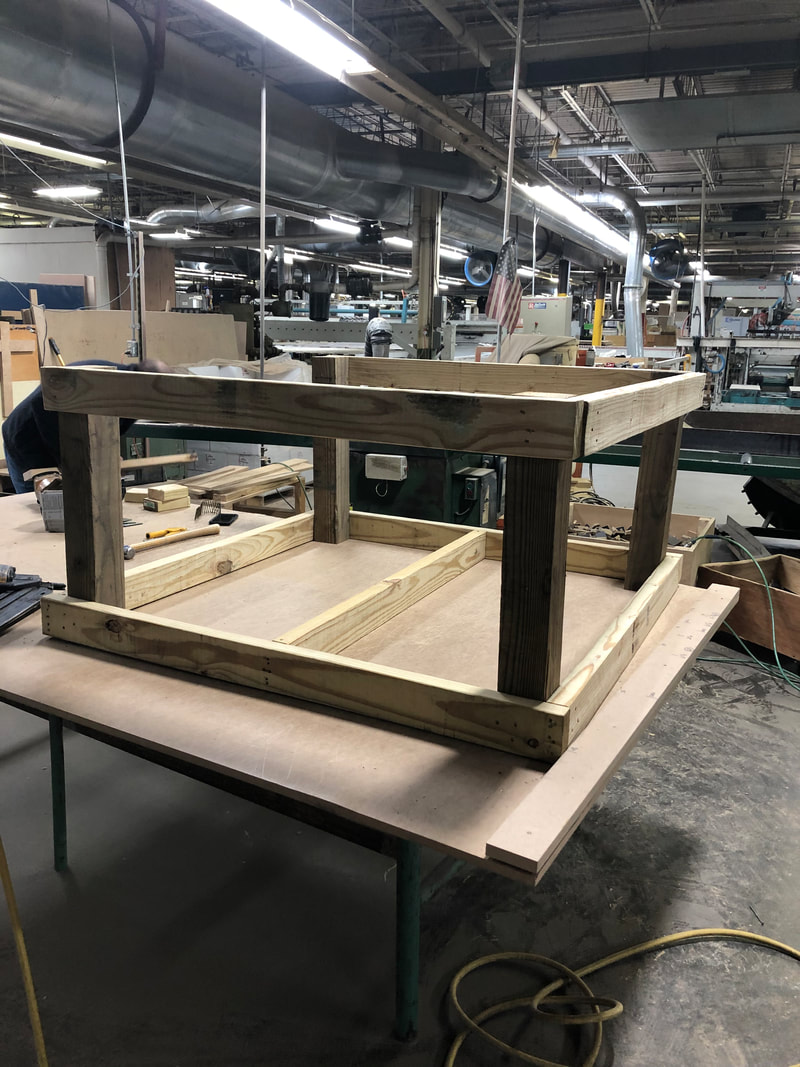 Plywood FloorThe second thing I did this week was cut out a piece of plywood for the floor of the blind. I used 3/4 inch plywood so the floor can be much stronger. The frame of the floor has extra supports so it would probably have been fine to use thinner plywood, but it can not hurt to have more support in the floor. I used a circular saw to cut the plywood to 48ft by 48ft, which is the size of the frame. This was relatively easy to do. The only challenging part was to get the dimensions to be exactly the right size. The next part was to secure the plywood floor to the lower frame. I used a nail gun to secure the plywood floor to the lower frame of the blind. When doing this I made sure to put in way more nails than needed. I did this so that the plywood floor would not move at all and because over time some of the nails may come out of place, so if there are extra nails then the plywood should stay secure for a very long time. The lower piece of the blind is now completely finished. It appears to be very sturdy and strong which is definitely a good thing 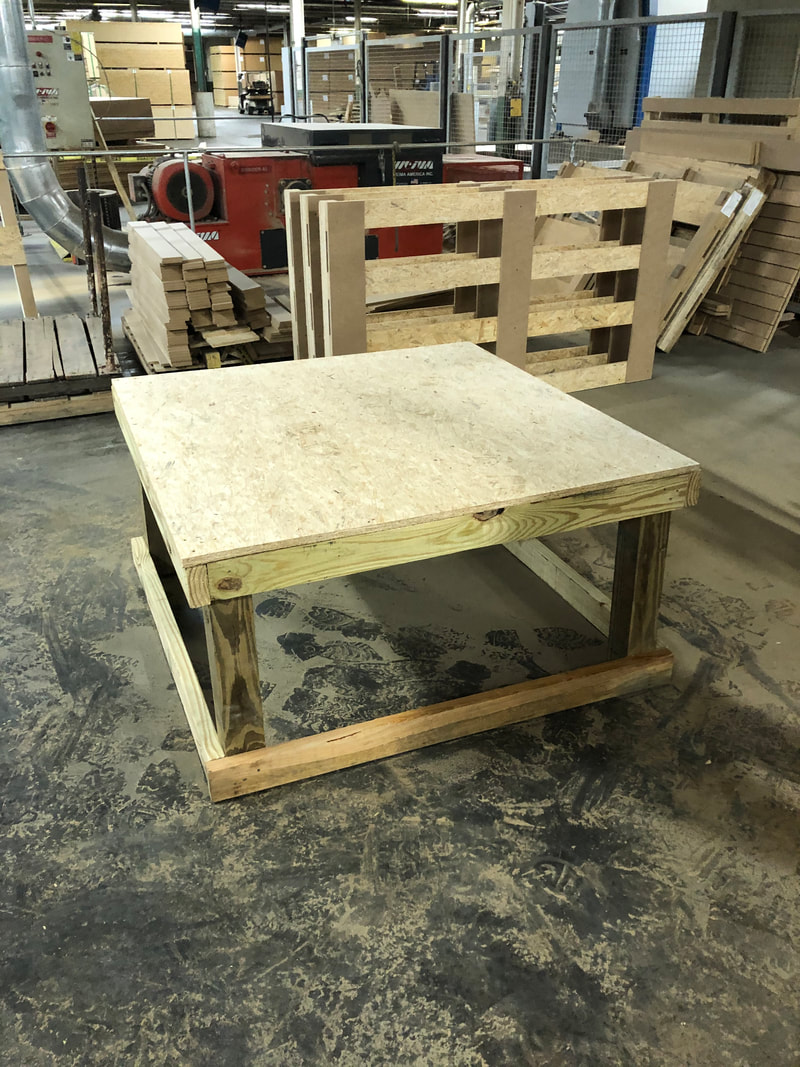
0 Comments
Leave a Reply. |
AuthorI'm Ty and these blog posts are to show off my progress for my Genius Hour project. Archives
May 2021
Categories |
 RSS Feed
