Attaching the WallsThis week I finished the exterior of the blind. I attached the walls that I cut last week to the frame of the blind. The process was very easy to do. I used a nail gun to attack the walls to the blind. The nail gun made this process very easy to complete. I had to be very precise when attaching the wall to make sure that everything lined up correctly. Doing this does not affect the overall function of the blind, it just makes it look a little bit nicer. Now that I have attached the walls, the blind is completely finished and ready to hunt in. Unfortunately it is not hunting season, so I will have to wait until next fall to test it for the first time. What I didn't get tooI had originally planned to put a roof on the deer blind. However, I do not have enough time or wood left to put a roof on the blind. This is not a huge deal though because the main reason for a roof is to keep everything inside the blind dry, so the blind itself it will work just fine without the roof. I may add a roof to the blind in the future if I feel that it is needed. Extra elementsEven if I did not have enough time to put a roof on the blind, I still have enough time to add some extra elements to it. On amazon I found a green netting that I could attach to the front of the blind. This would add an extra layer of camouflage to the blind. I also have ordered a lawn chair to place in the blind. I already have several lawn chairs that I could have used, but I thought it would be better to get a new one. I did this because most likely the chair will become very dirty because there is no roof.
0 Comments
Cutting the WallsThis week I got help from my dad. In order to cut the walls of the blind I used a router at where my dad works. There are other ways to cut the walls like using a circular saw, but using a router was definitely the most exact and quick way to do it. I did not know how to use the machine so my dad had to show me how to do most of it. The first thing we did was use a program called CAD that tells the machine what to do. This was a relatively straightforward process. This part I definitely could not have done without the help of my dad because I had never used any program like this before now. After measuring the frame of the blind I learned that each of the walls needs to be 44in by 51in. This is slightly off from what I had intended to do, but it should not matter. I set up the program to cut two 44in by 51in pieces out of the sheets that I had. One of the pieces has a hole in the top of it so that I could shoot out of it. I ran the same program on the two sheets that I had, even though I only needed one piece with a hole in it. This is because it was much easier to create one program than two and it did not matter that much if a second wall had a whole in it. Actually cutting the pieces was incredibly easy. Thanks to the machinery I had access to I was able to completely cut the walls out in 15 minutes. All I had to do was slide the two large pieces of plywood into place and then start the machine. 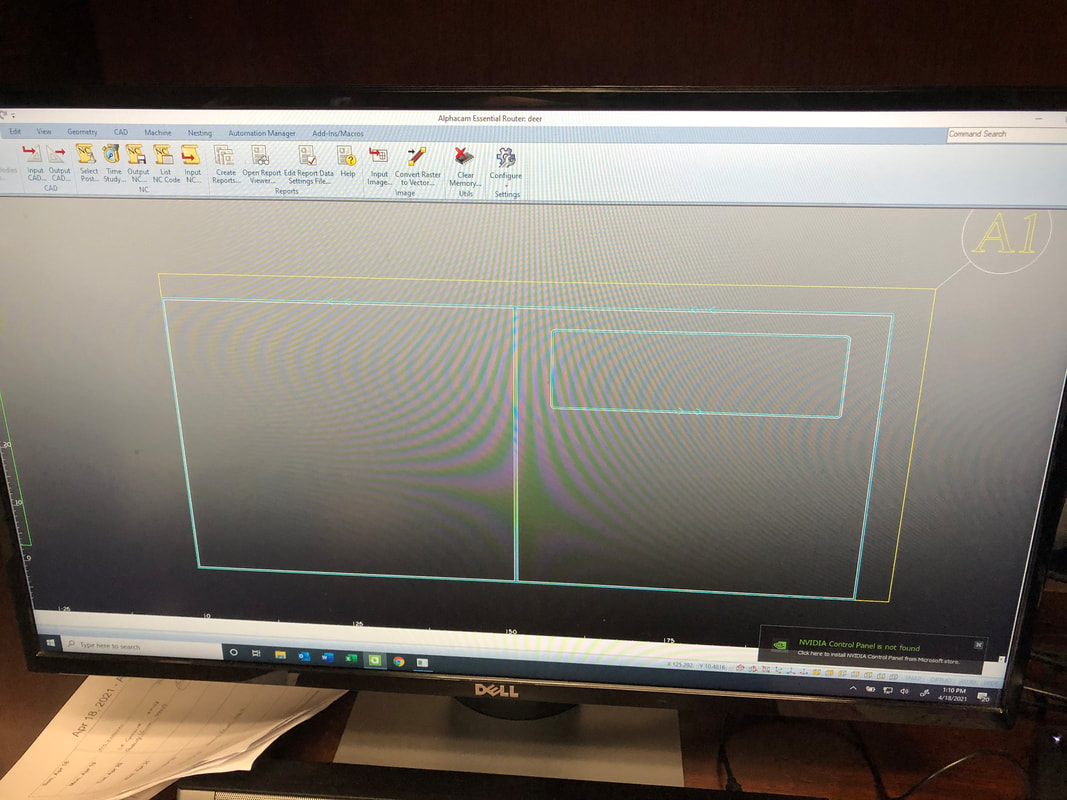 ProblemsThe main challenge I faced this week was that I was in Florida on vacation all week. So I was unable to get out and actually work on the wooden deer blind. This was a problem that I hadn’t considered when I was planning out the project. I didn’t realize that I wouldn’t be able to work on the blind until I was already in Florida, so there was nothing I could do about it. This definitely put me behind in my scheduling. I still need to cut out plywood sheets and attach them to the outside walls of the blind. This will probably be the most time consuming piece of the whole project. I will have to work extra for the remaining weeks in order to catch up. What i did do this weekThe only thing I was able to do this week was research what type of plywood I needed to use for the walls of the blind. I discovered that any pressure treated plywood should work because it would last significantly longer than other types of plywood. I also believe using 3/4 inch thick plywood is the best option. That thickness is definitely on the thicker side for plywood, so it should last longer than any thinner plywood’s. The only downsides the 3/4 inch plywood is that it is heavier and more expensive. I am choosing materials that will last the longest because I do not want to have to deal with maintenance on the blind later and I do not want to worry about it breaking while I’m in it. Next week I plan to purchase plywood and the cut the plywood the correct size for the walls of the blind. Also this week I found a camouflage netting that I would like to put on the outside of the blind. This is a very cheap and is an easy way to improve the final result of the deer blind.
ANOTHER CHANGE in plansI was planning to build the walls of my deer blind out of pallets so that I could keep the cost of the deer blind down. Wood is extremely expensive right now and I have plenty of pallets that were lying around, so this was a great alternative to framing the blind with wood. However, I was able to get enough wood very cheaply, so that I could frame the blind instead. Even though using pallets was a good option, framing is much better. This weekThe first thing I did when framing the blind was build the outside supports. I made the supports of the corners two sides, so that the frame was stronger and was even all the way around. I made the walls 4ft high which should be plenty tall enough to hunt out. This was a relatively easy process to do because the tools I had access to. Next I attached several beams to the tops of the supports to connect them together. At this step I ran into a minor problem. Even with my efforts to make the blind a perfect square, it still was longer on two sides than the other two. The wood that I had available to me was not long enough to finish the final side of the blind. Next week I will have to go to Lowes Hardware to get a board that is long enough to finish that side of the blind. 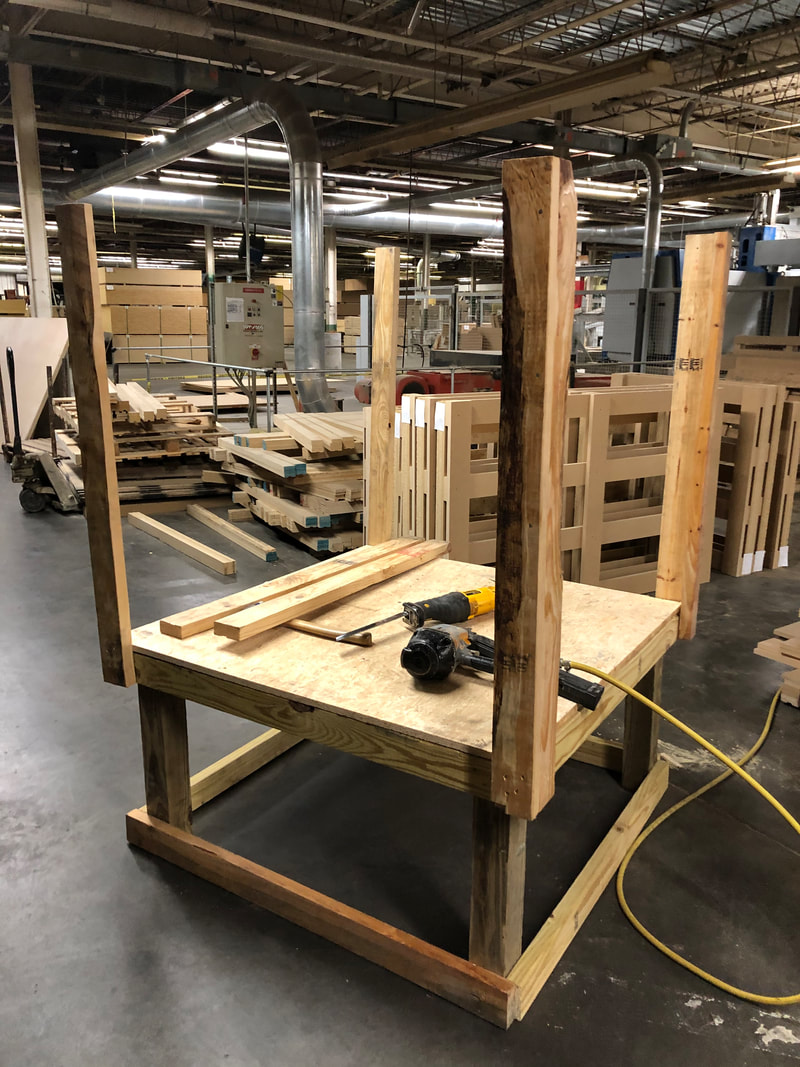 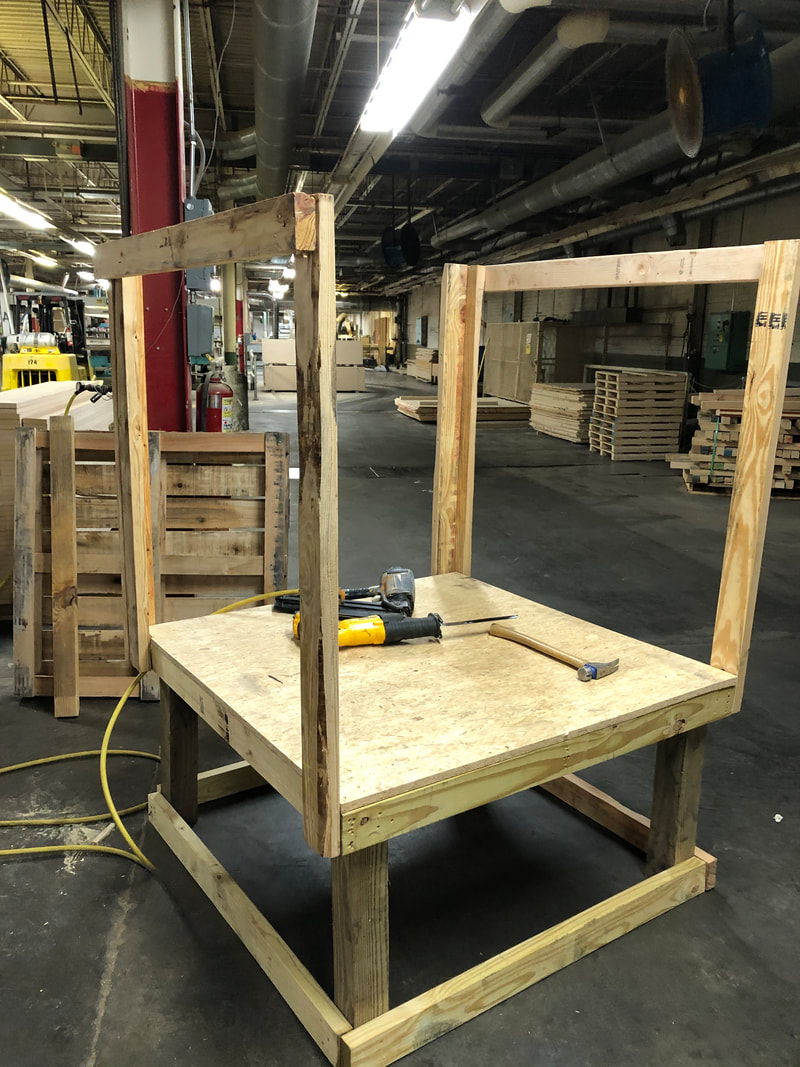 Next week PlansNext week I will be finishing the walls of the blind. To do this I need to cut pieces of plywood to place on the outside of the walls. This week I took the measurements so that I know what size I need to cut the plywood to next week. After that I will have finished the main structure of the deer blind.
|
AuthorI'm Ty and these blog posts are to show off my progress for my Genius Hour project. Archives
May 2021
Categories |
 RSS Feed
