FINISHING TouchesThis week I have completely finished the entire wooden deer blind. All I did this week was attach a camo netting that I ordered last week to the outside walls of the deer blind. To do this I used a staple gun to attach the netting. This was a very easy process to do. I did have some problems with the cord of the staple gun, but eventually I got it to work properly. I also made sure that the blind appeared to be safe to be in for long periods of time. This is important because I really do not want to be sitting in a blind when it collapses. The blind appeared to be very sturdy, so I think that I will be ok. Throughout the entire project I had safety in mind, so many aspects of the blind are overbuilt, which I think is definitely a good thing. Some of the overbuilt aspects are using 3 quarter of an inch thick plywood and putting extra 2 by 4’s for support on the frame of the deer blind. 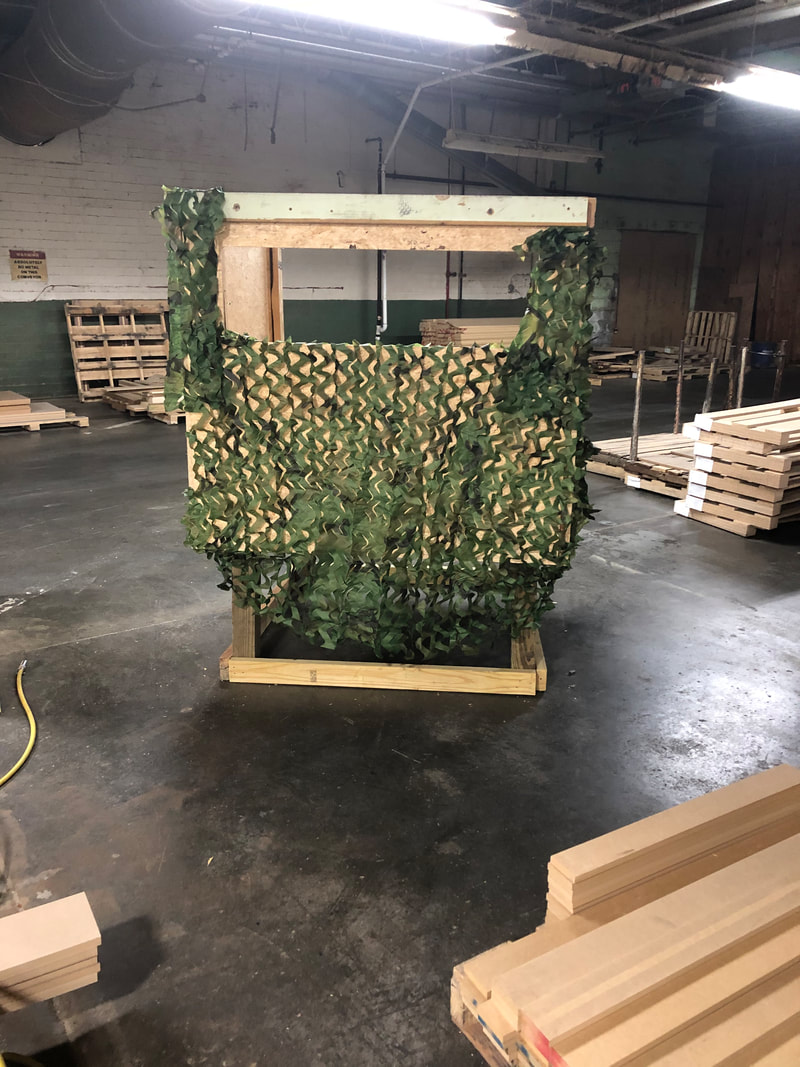 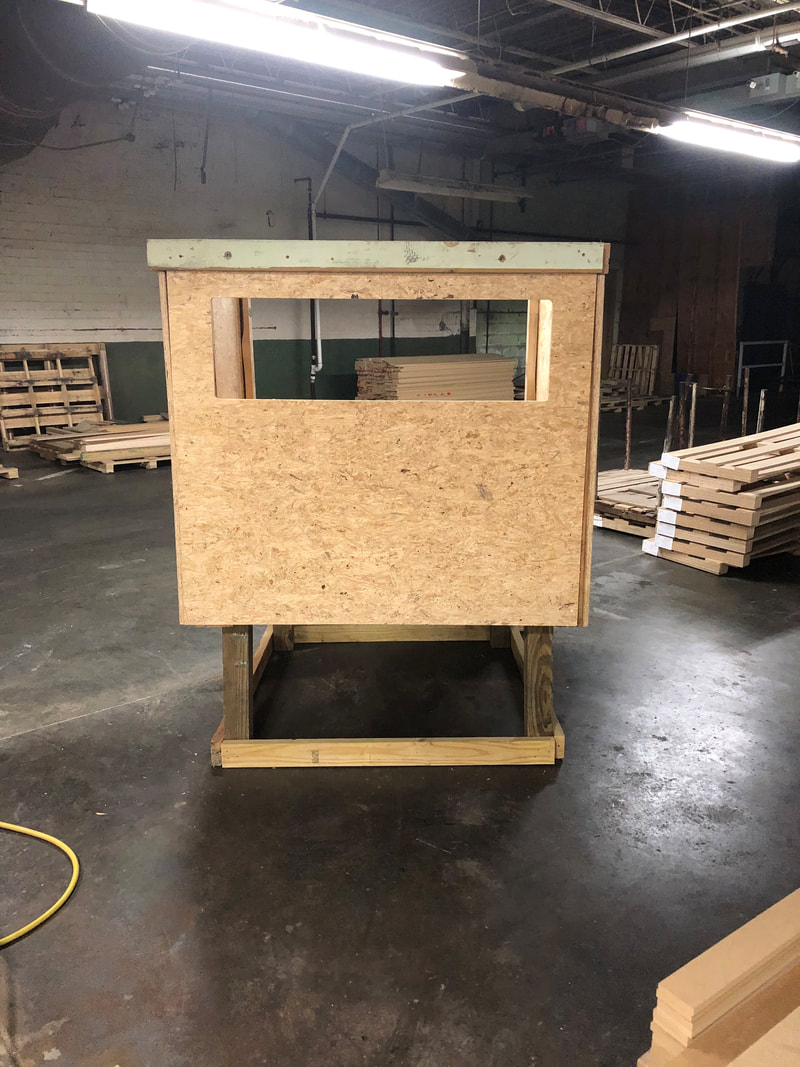 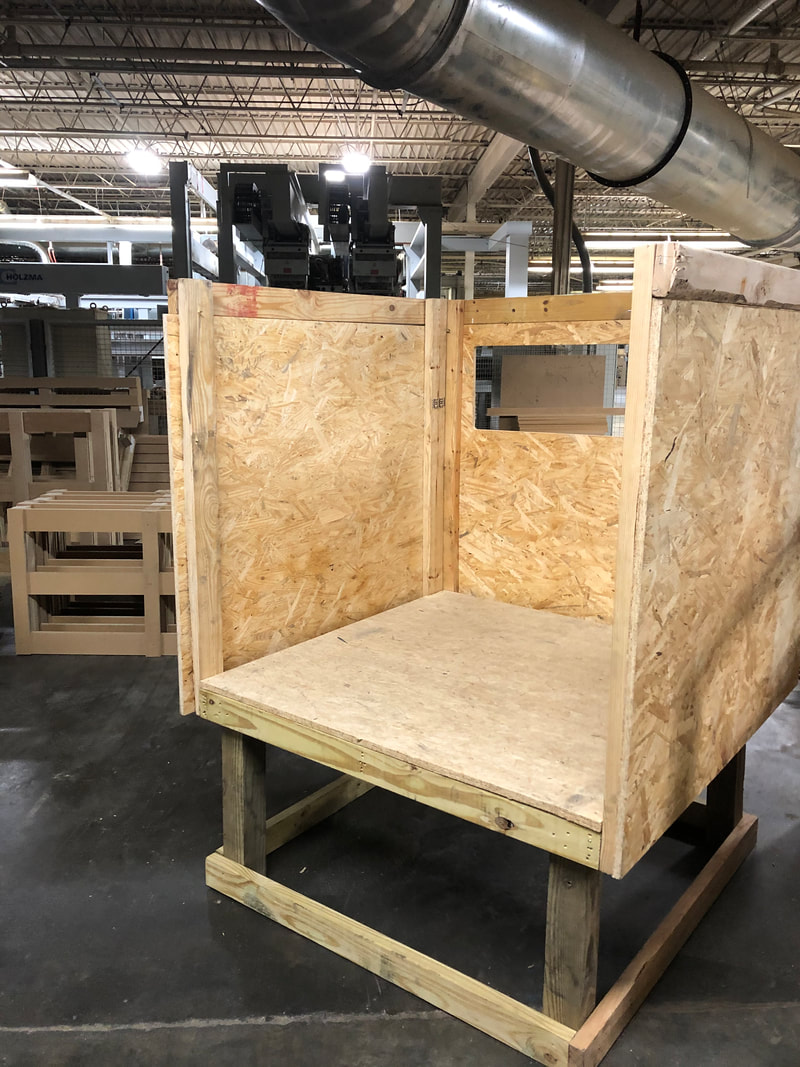 HELPFUL toolsThroughout the project I had access to many tools and resources that definitely helped in the building of the deer blind. These included a large chop saw for cutting 2 by 4’s, a nail gun, and a router for cutting out the walls. The most help of these was probably the router. This allowed me to cut the walls out of one piece of plywood. This made building the walls a much easier task because each wall was one singular piece. The nail gun also helped a lot because of how much quicker it was to attach pieces together. Using screws also would have worked, but using a nail gun was much faster to use. The chop saw was definitely easier than other options like a miter saw, but it wasn’t as much of a difference as the other tools.
1 Comment
Ty Butler
5/16/2021 12:39:28 pm
Week 12 I was not required to do a blog post because I volunteered to present early. During week twelve a designed my presentation for the project Leave a Reply. |
AuthorI'm Ty and these blog posts are to show off my progress for my Genius Hour project. Archives
May 2021
Categories |
 RSS Feed
